
Convert My Loft.
Site under construction (excuse the pun).
Phase 3. Converting the loft.
This was the ‘biggy’. A massive undertaking which would
have cost Ł15,000 to Ł20,000 if we’d employed a contractor. First job; get an
architect or building consultant to make some drawings. Don’t try this yourself;
you don’t know enough about building regs. Submit these drawings to the
building control office and wait for their approval. You will be working
closely with these people and can expect a visit from them at least once per
month.
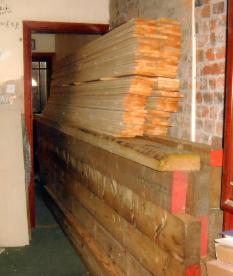
Next job; order your timber. Be as accurate as possible
estimating quantities but don’t under-order. You don’t want to call a halt to
the work while you wait for more timber to be delivered.
Install the joists. There are several ways of doing this; you
can install a giant, square frame made from steel girders and fix it onto the
inner side of the brick walls. You can knock holes into the brickwork, next to
the existing ceiling hangers and install new joists. This is how we did it; Fix
lengths of joist onto the inner side of the walls, like fixing battens for
shelves but much bigger and heavier. These must be fixed using 8” bolts. No
plugs are used, you drill a 10mm hole in the wall and the bolts ‘bite’ directly
into the brick. Check local authority rules for minimum spacing. Using joist
hangers and nails fix the joists between these battens, resting the other ends
of the joists on the supporting wall/walls and bolt them together. I hope it
goes without saying you must constantly check everything with a good quality
spirit level.
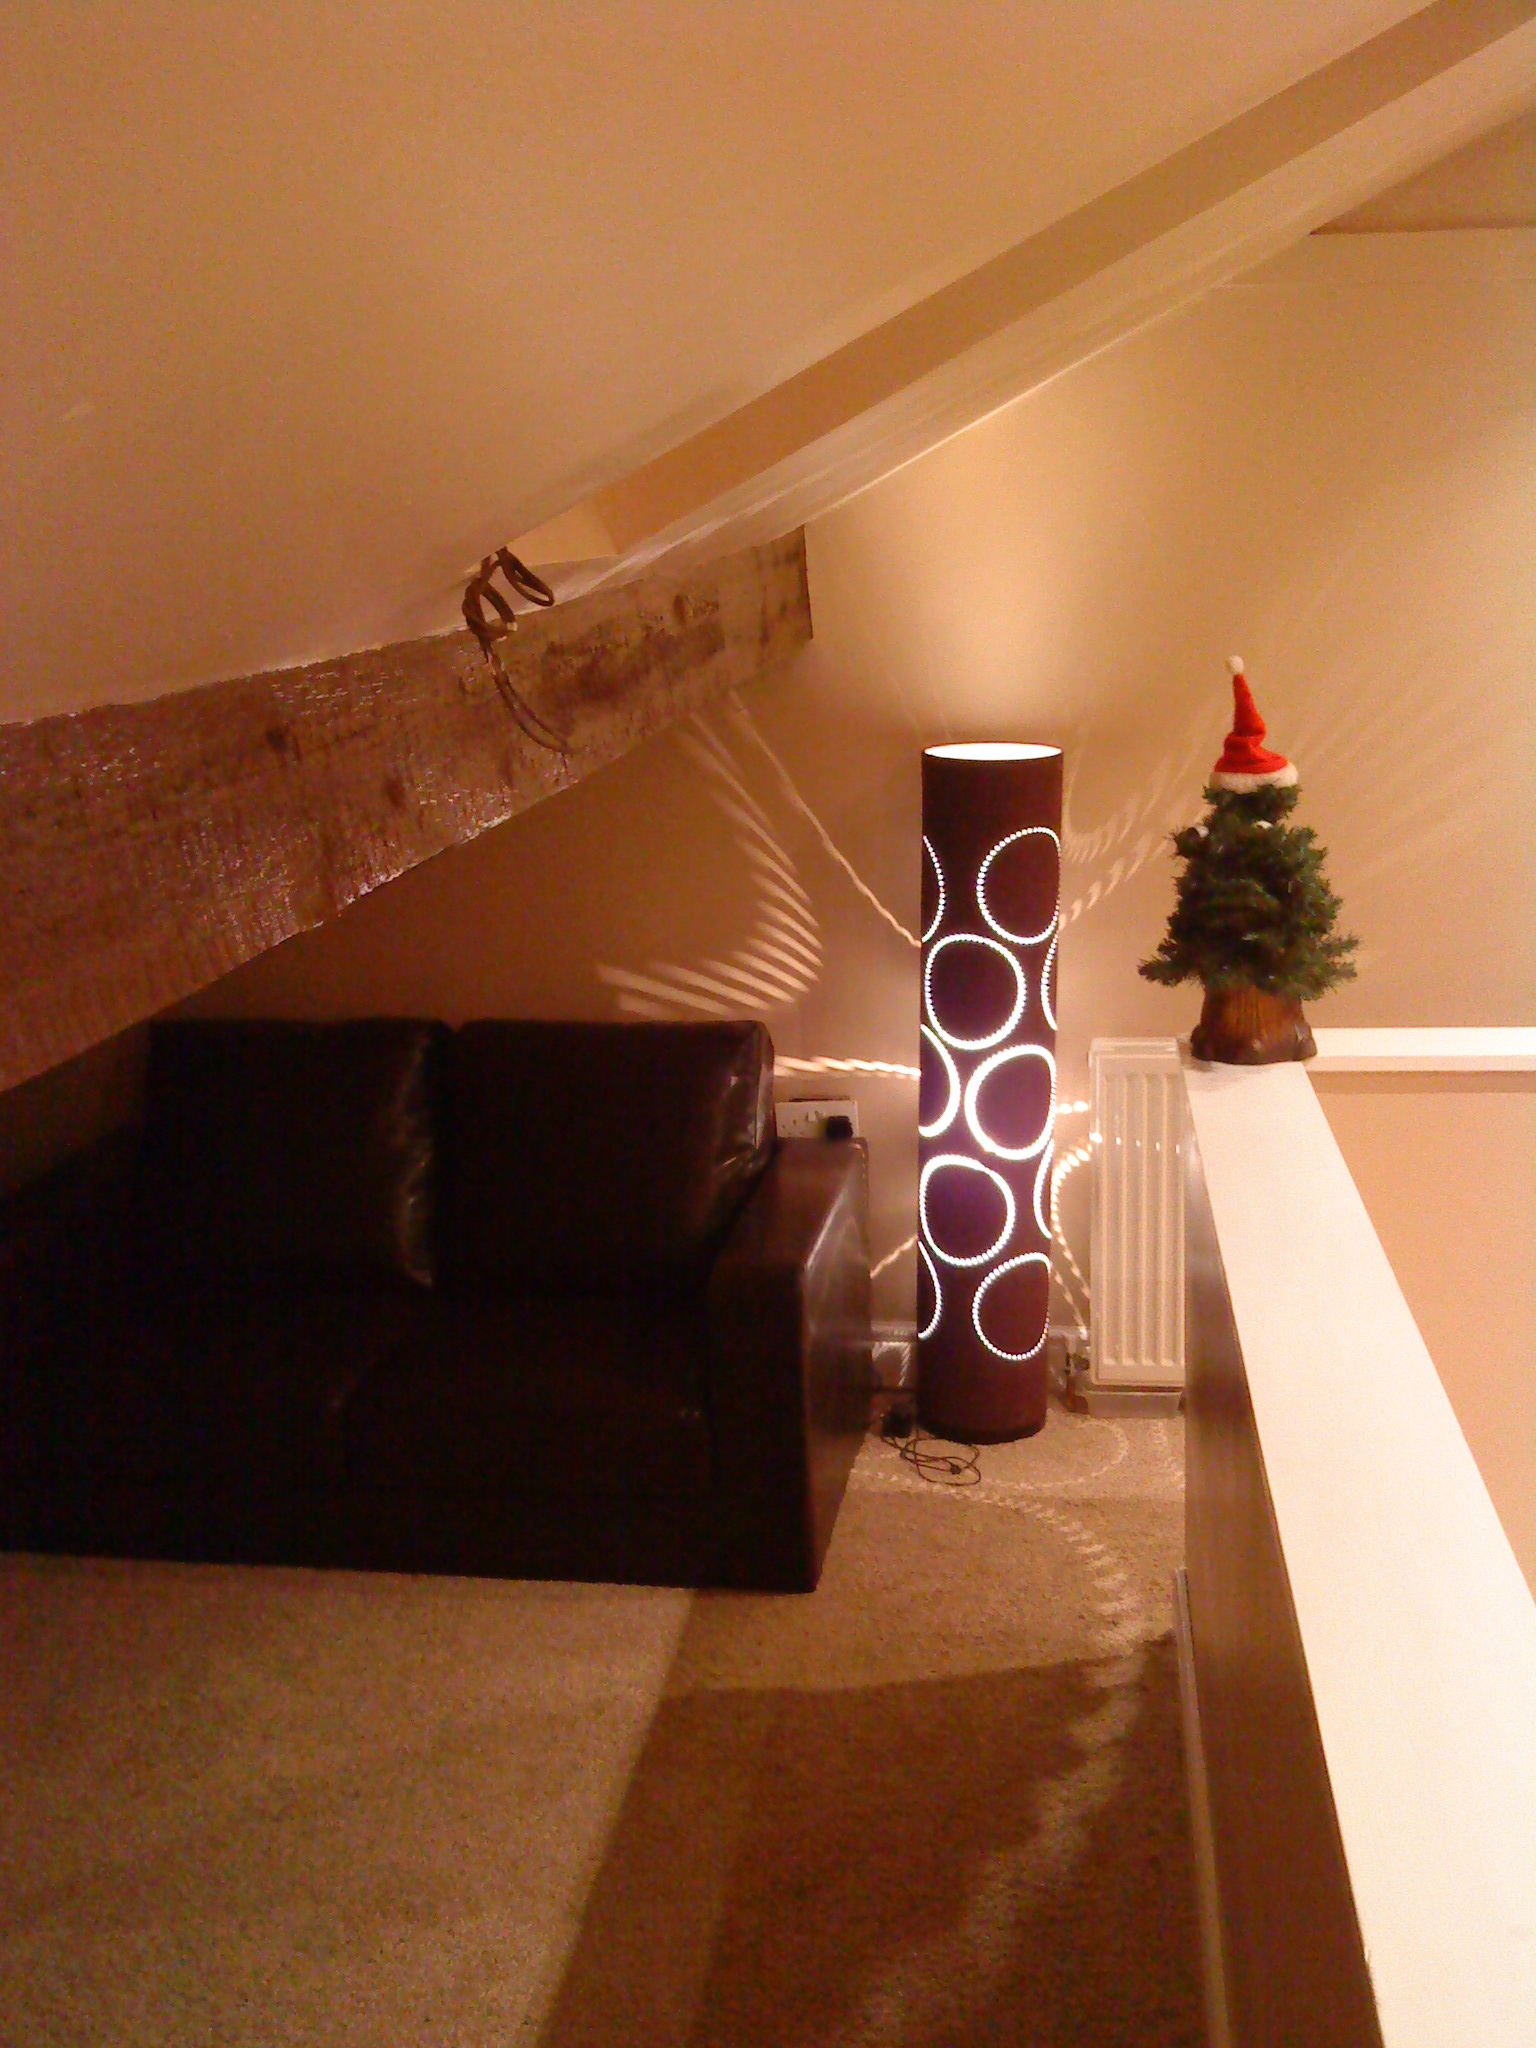
I should point out that we lowered the ceiling height by 17”
to allow more headroom in the loft.
The supporting wall had to be lowered and in some places
packed with slate to achieve level. Once installed all brick-timber joints have
to be securely mortared in place. Securely fix the ends of the rafters to the ends of the joists to prevent the roof collapsing.
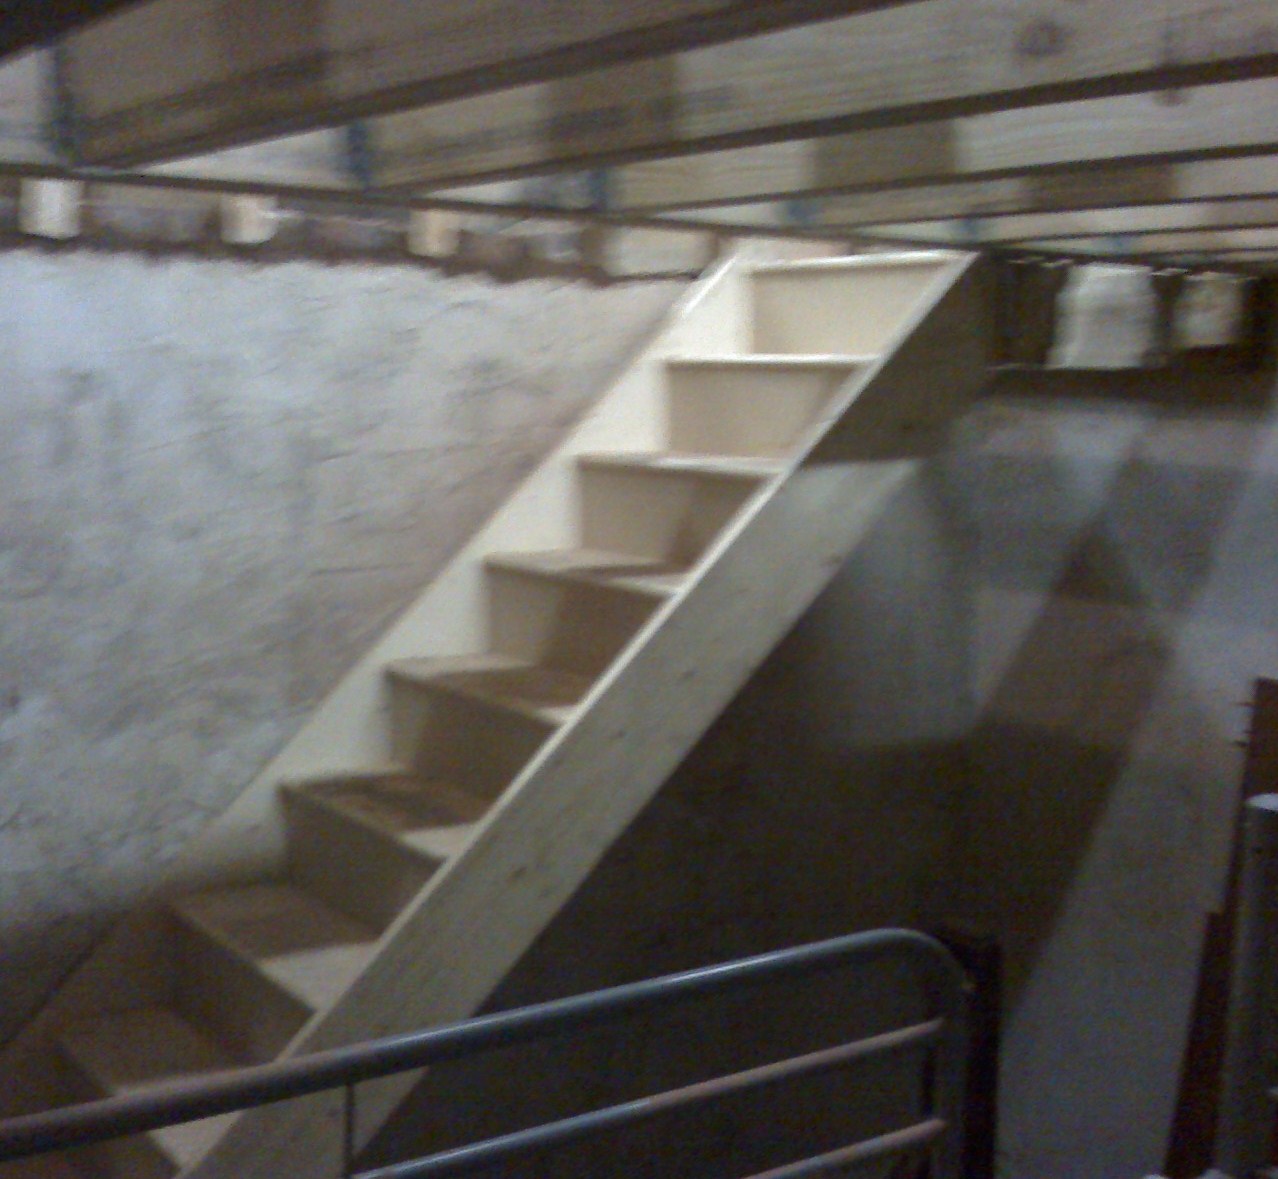
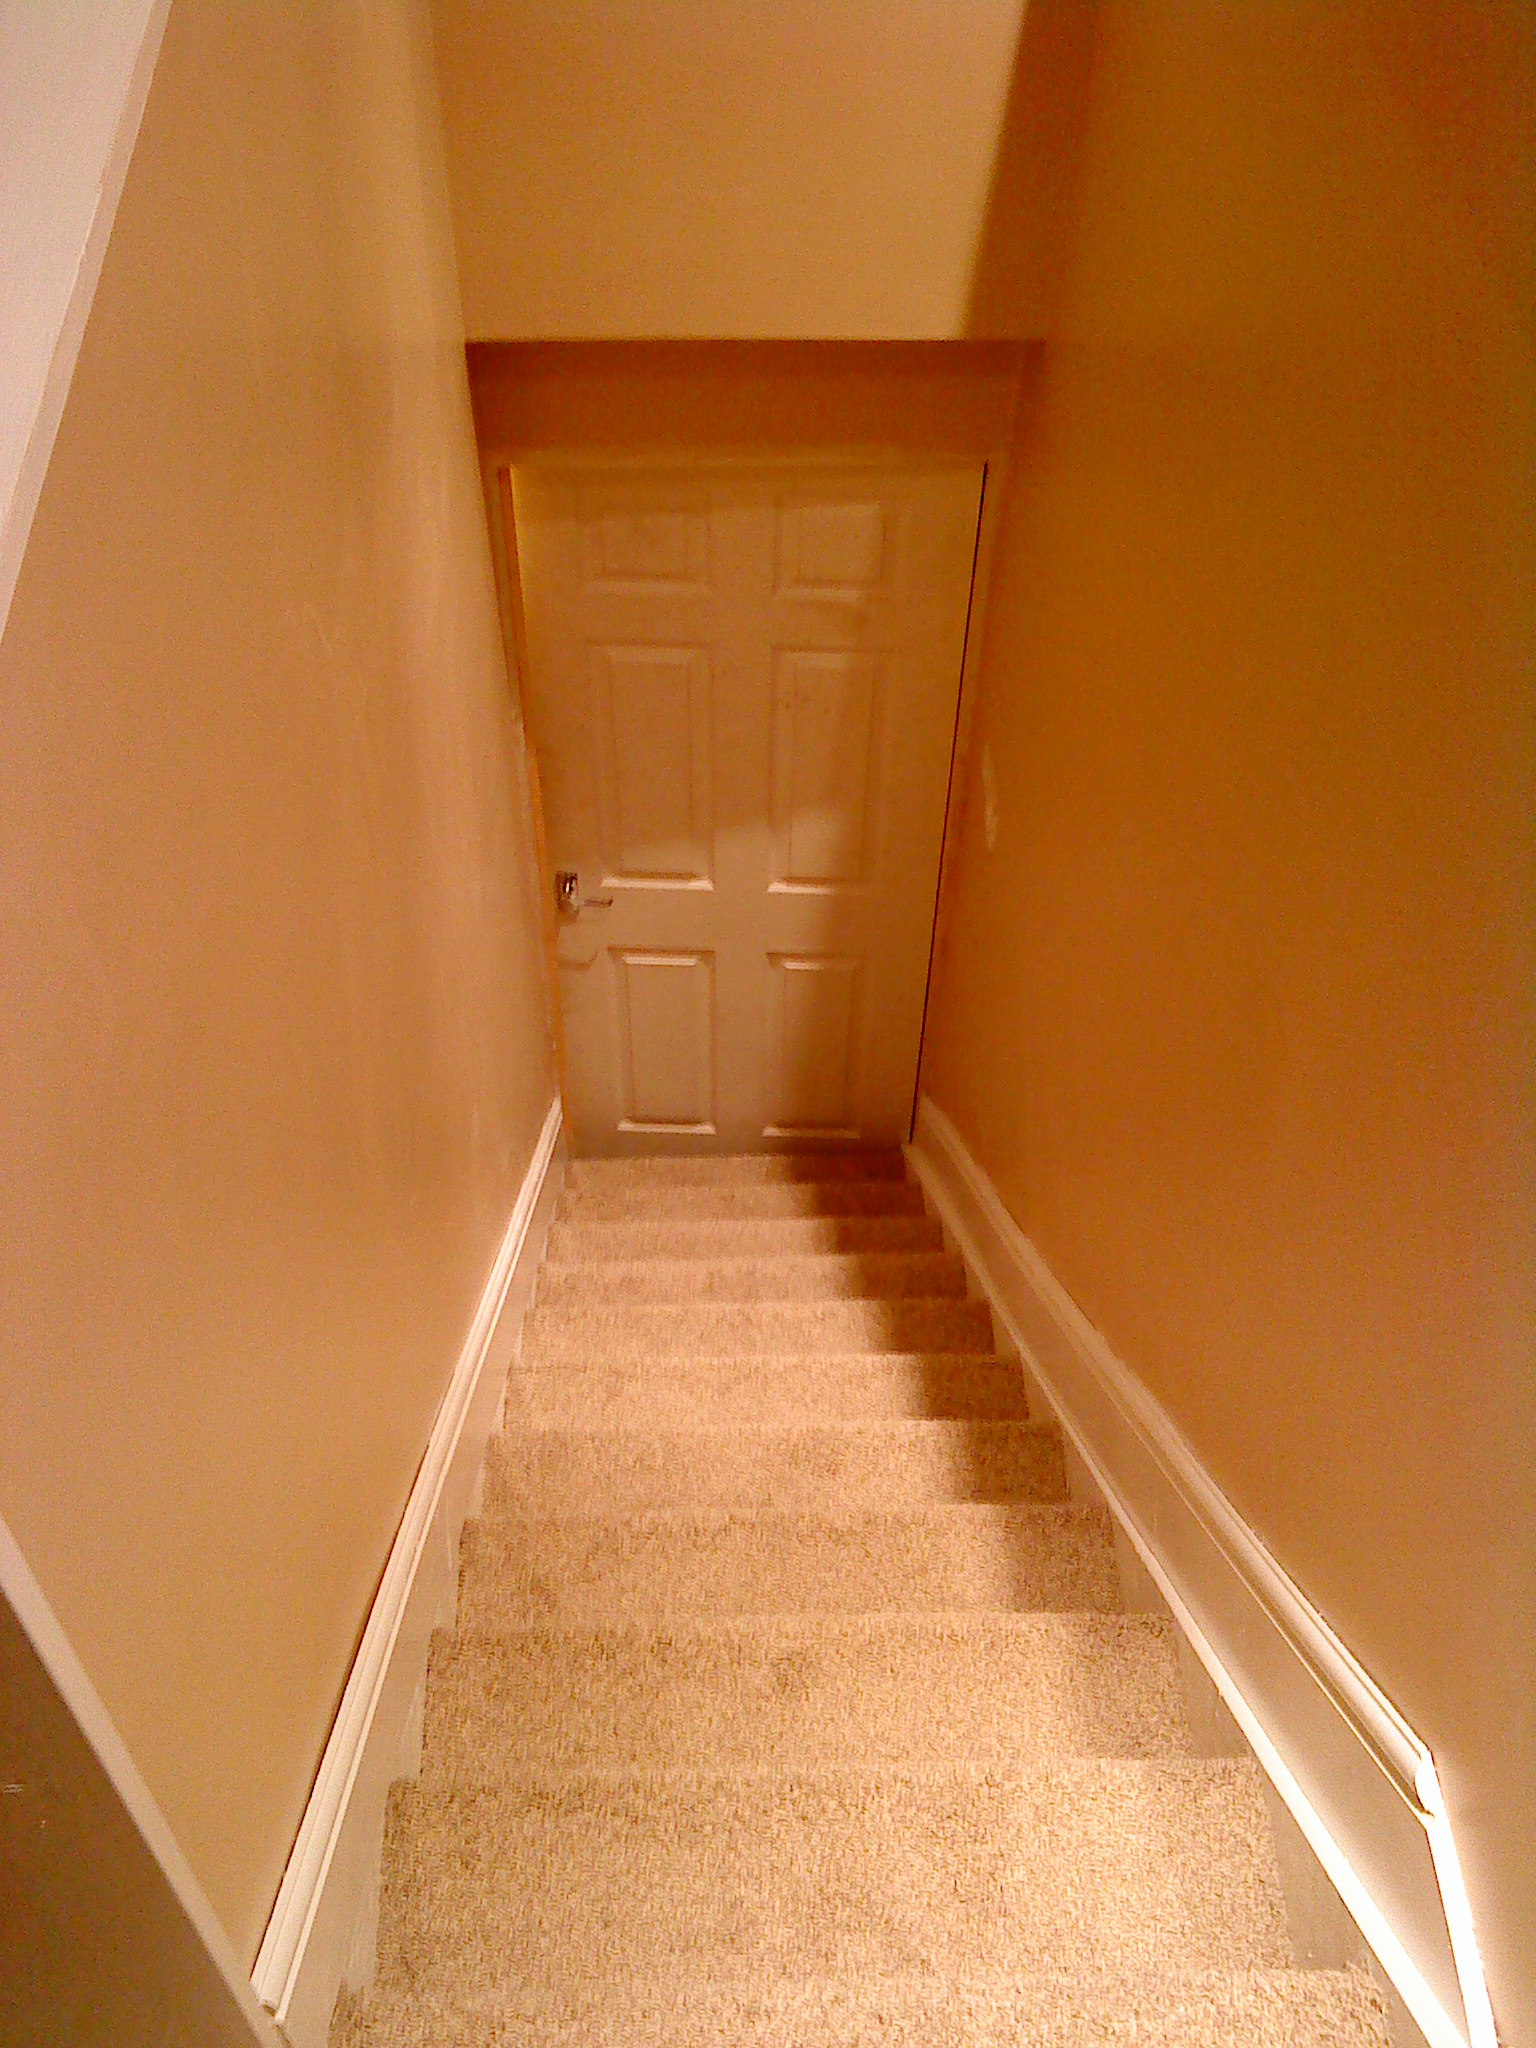
I ordered the staircase from a bespoke manufacturer and
employed two joiners to install it.
Then install the new wiring. Comply with all local
regulations. We had to call a Part P registered electrician in to inspect and
certify all wiring.
It made sense to put the floor in next to make working up
there safe. I chose to use traditional floorboards. Lots of new-build houses
have chipboard floors. That’s their decision but I won’t have it in my house.
We installed an en-suite with toilet and wash-basin.
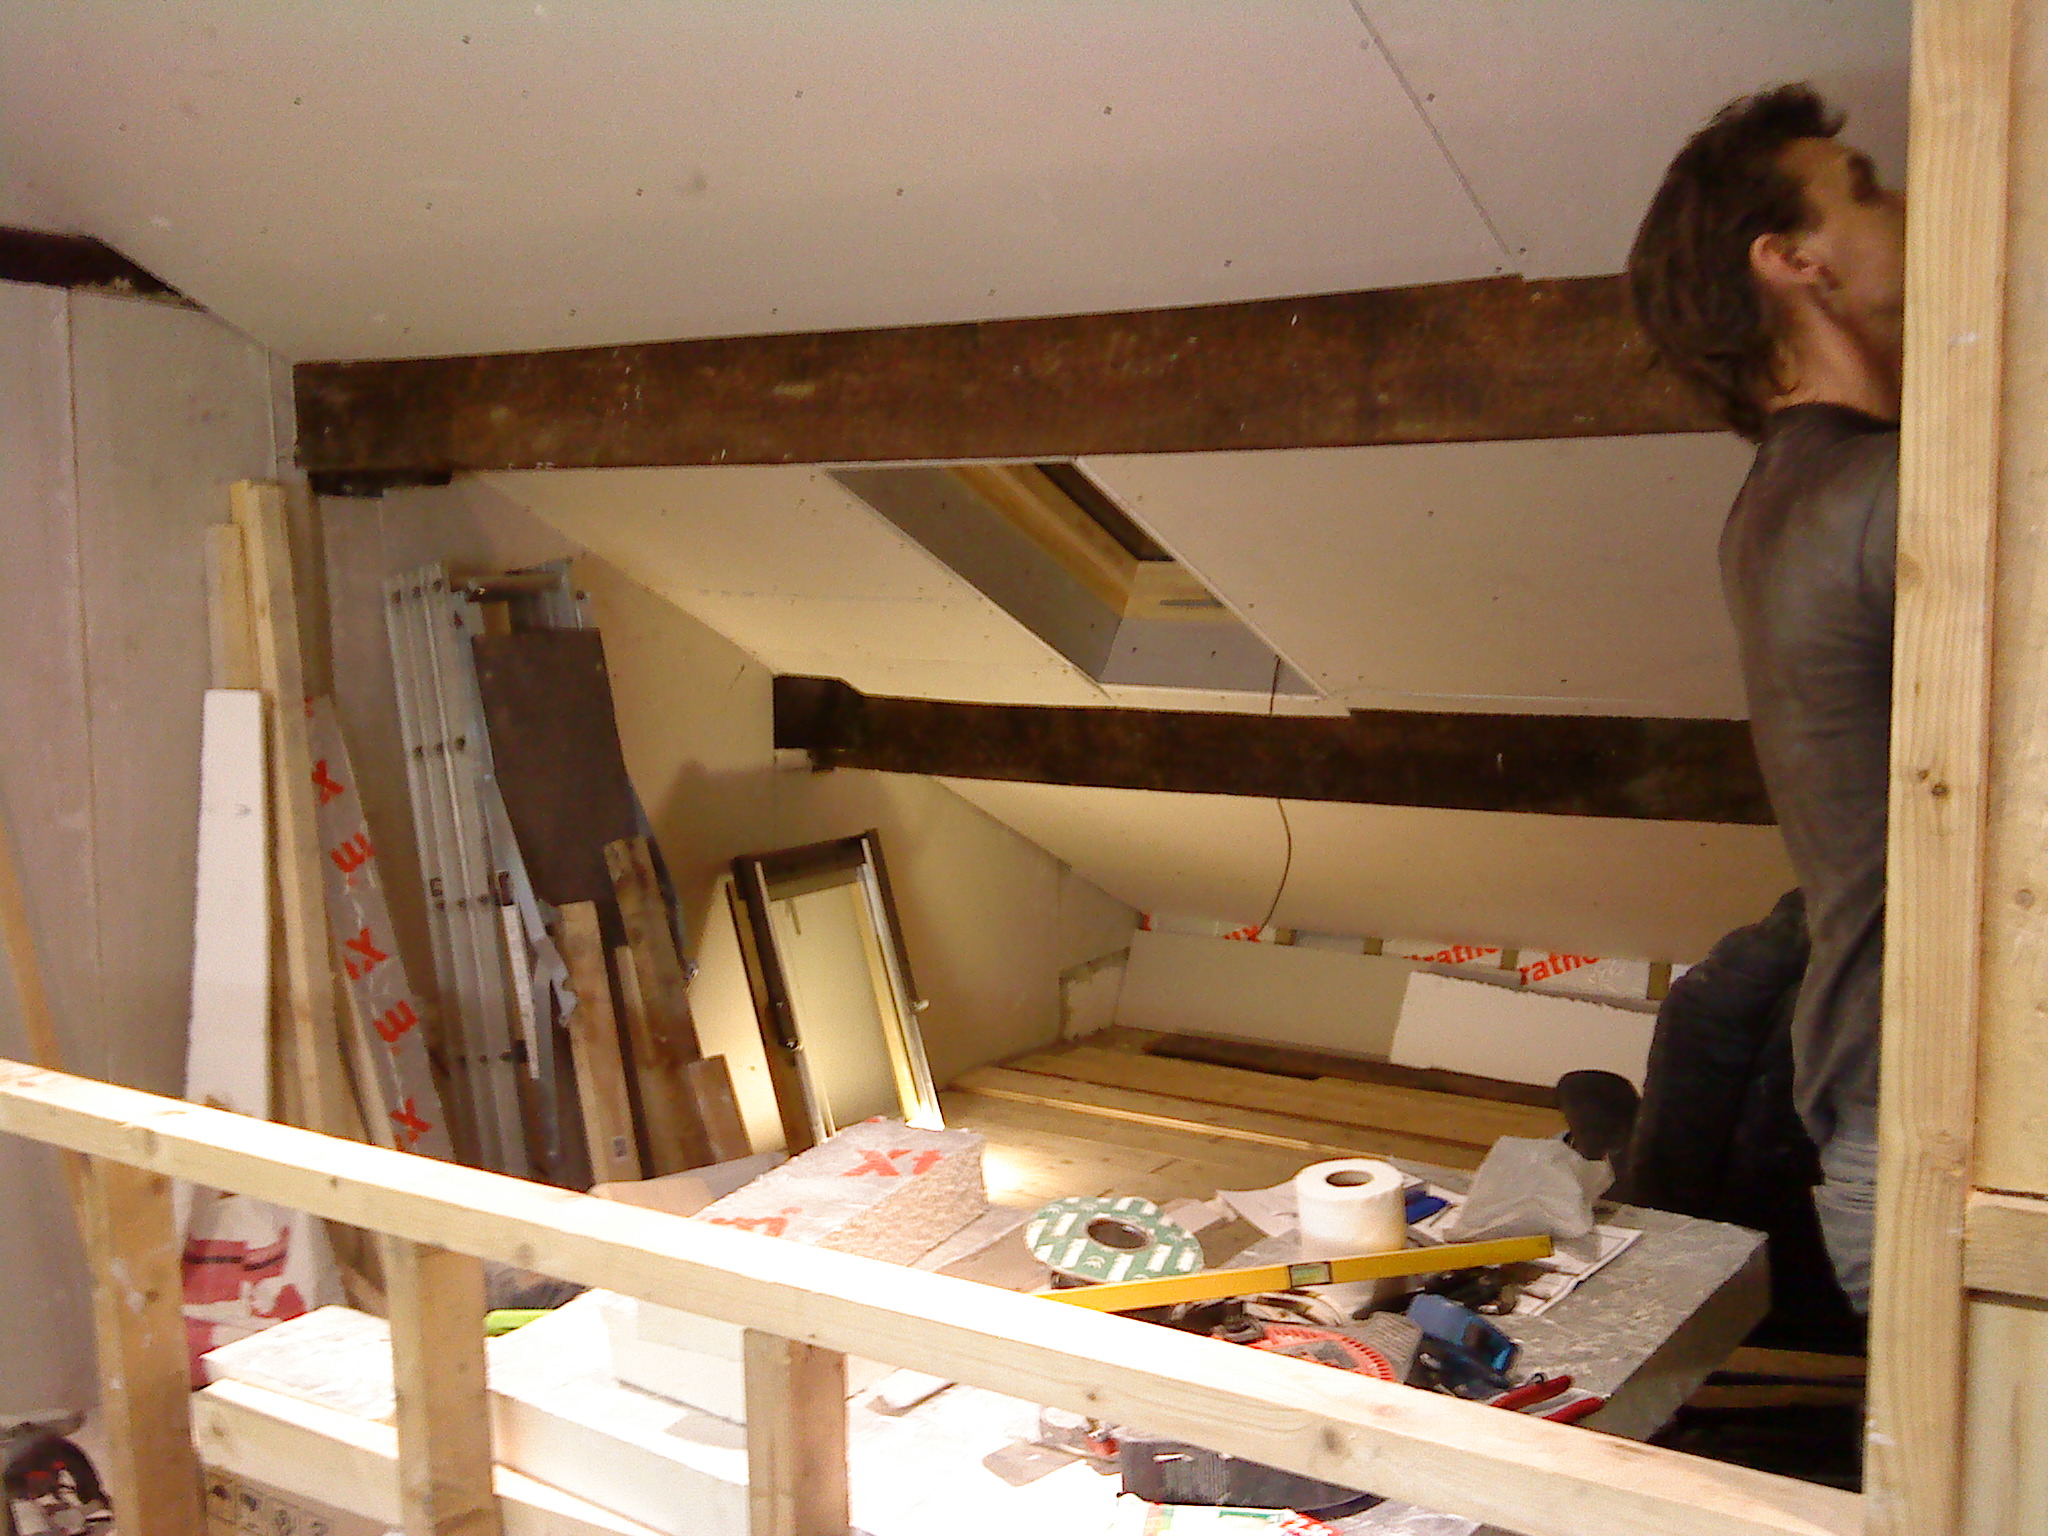
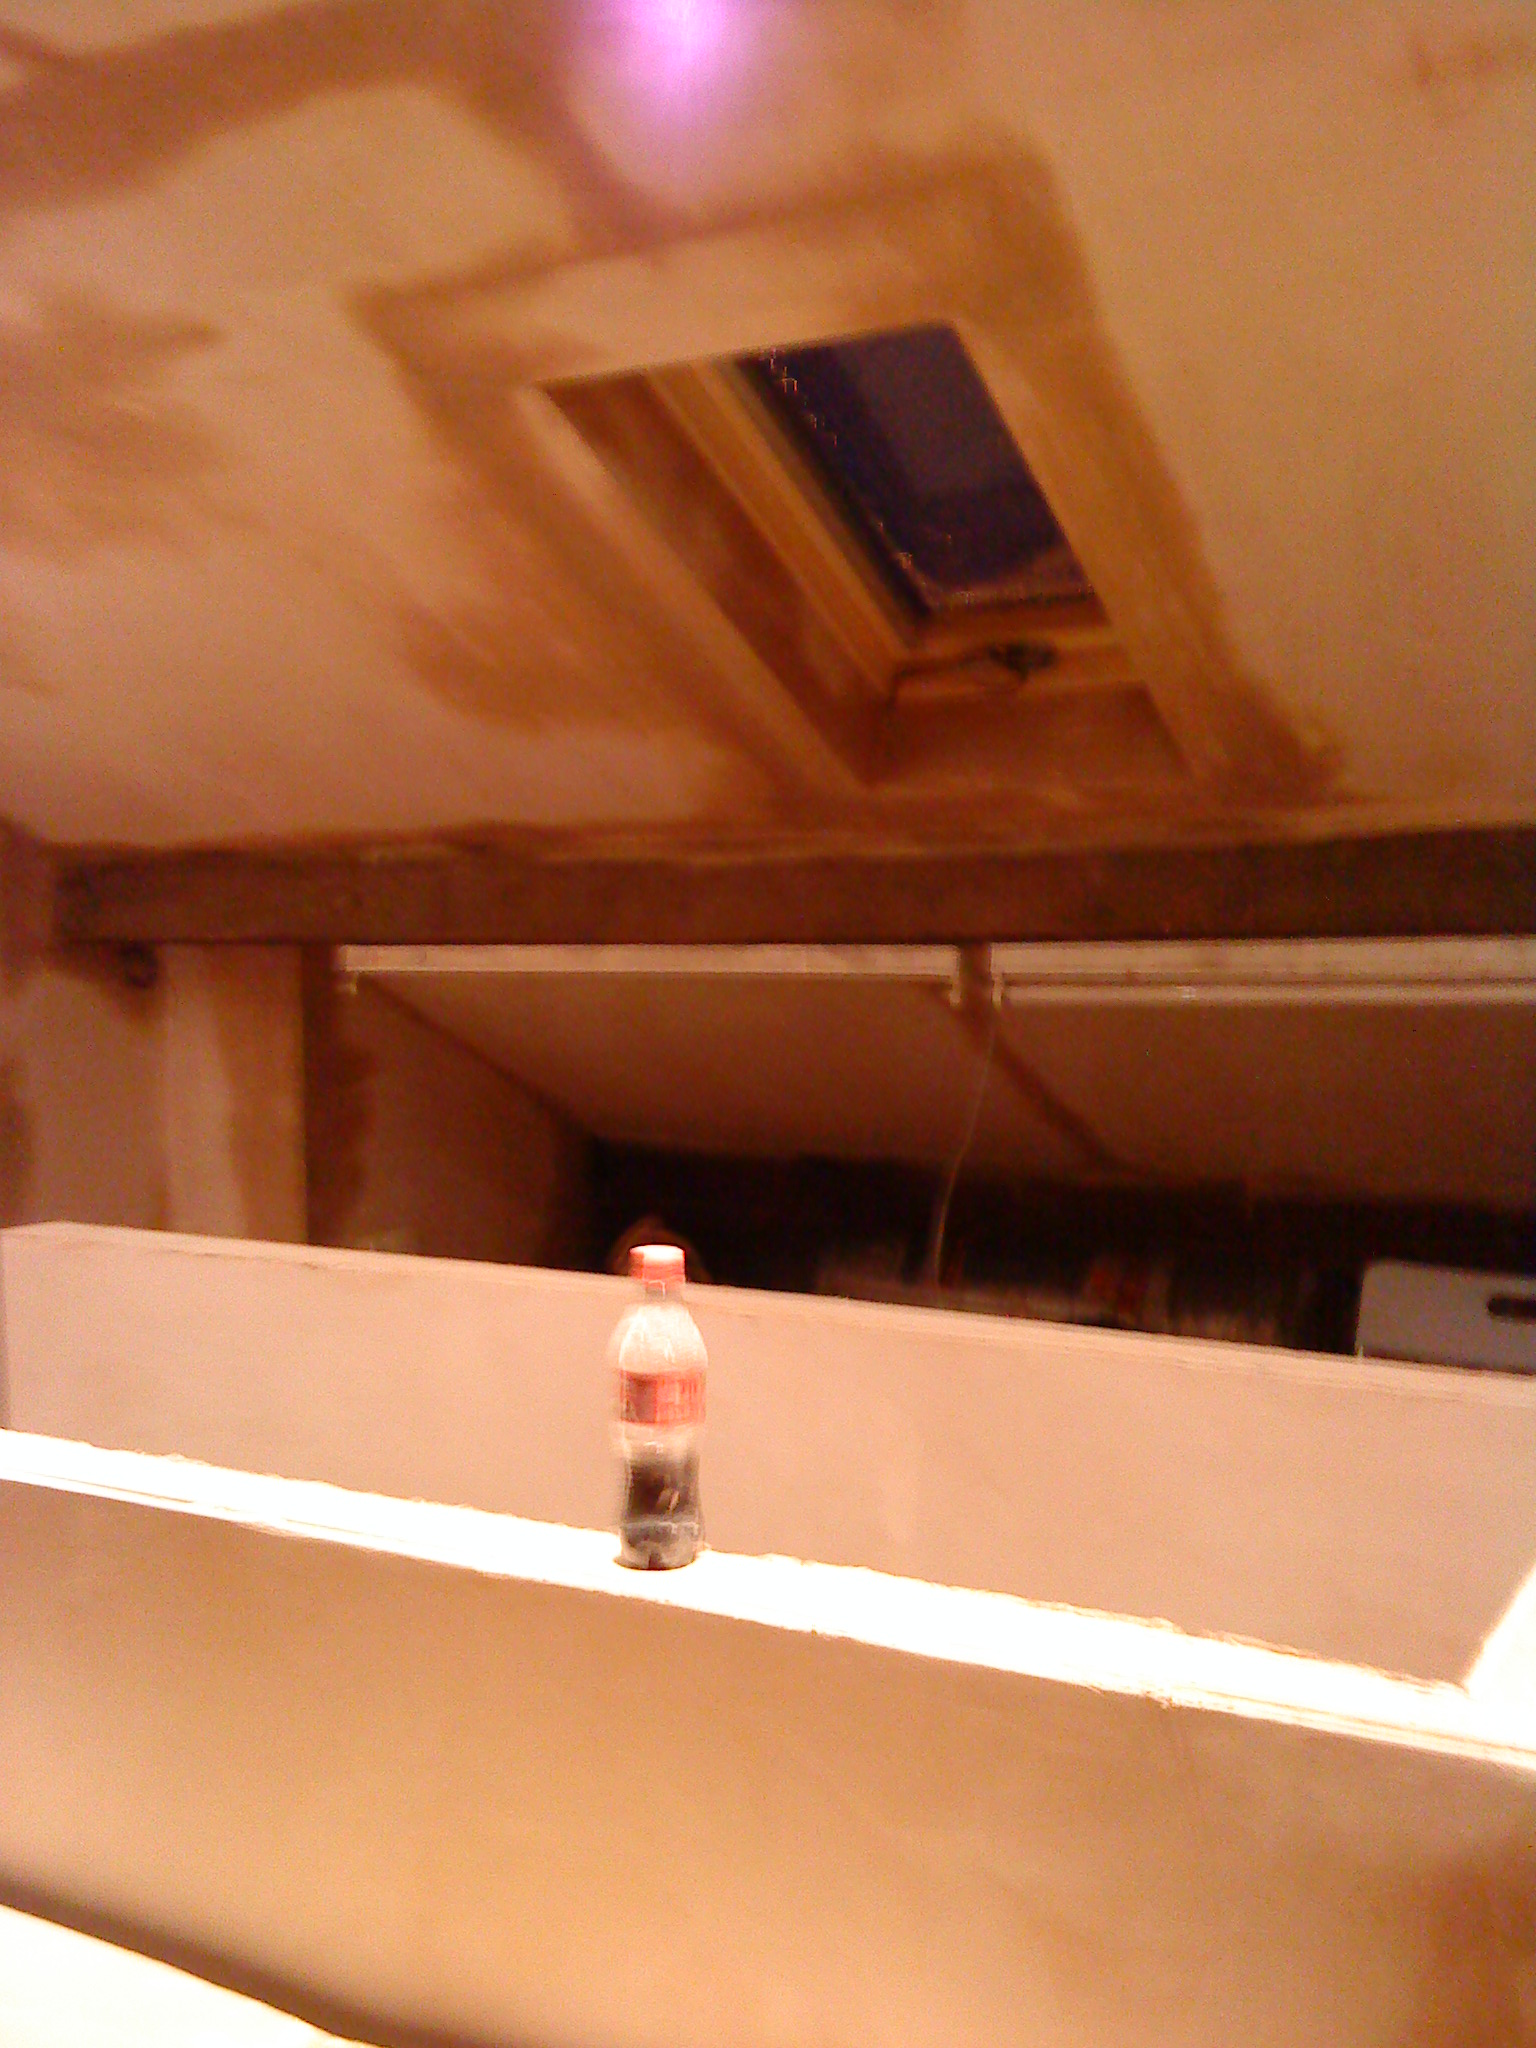
Windows. Velux seemed the obvious choice but after
searching the internet I found a very similar product at a fraction of the
price.
Installing the windows was surprisingly easy; each took around
four hours. Cut out a gap in the rafters, make a frame out of 2” X 3” to accommodate
the window and retain strength in the roof, install it and make sure it’s
weather-proof. All this can be done from inside the loft, no need to climb on
the roof.
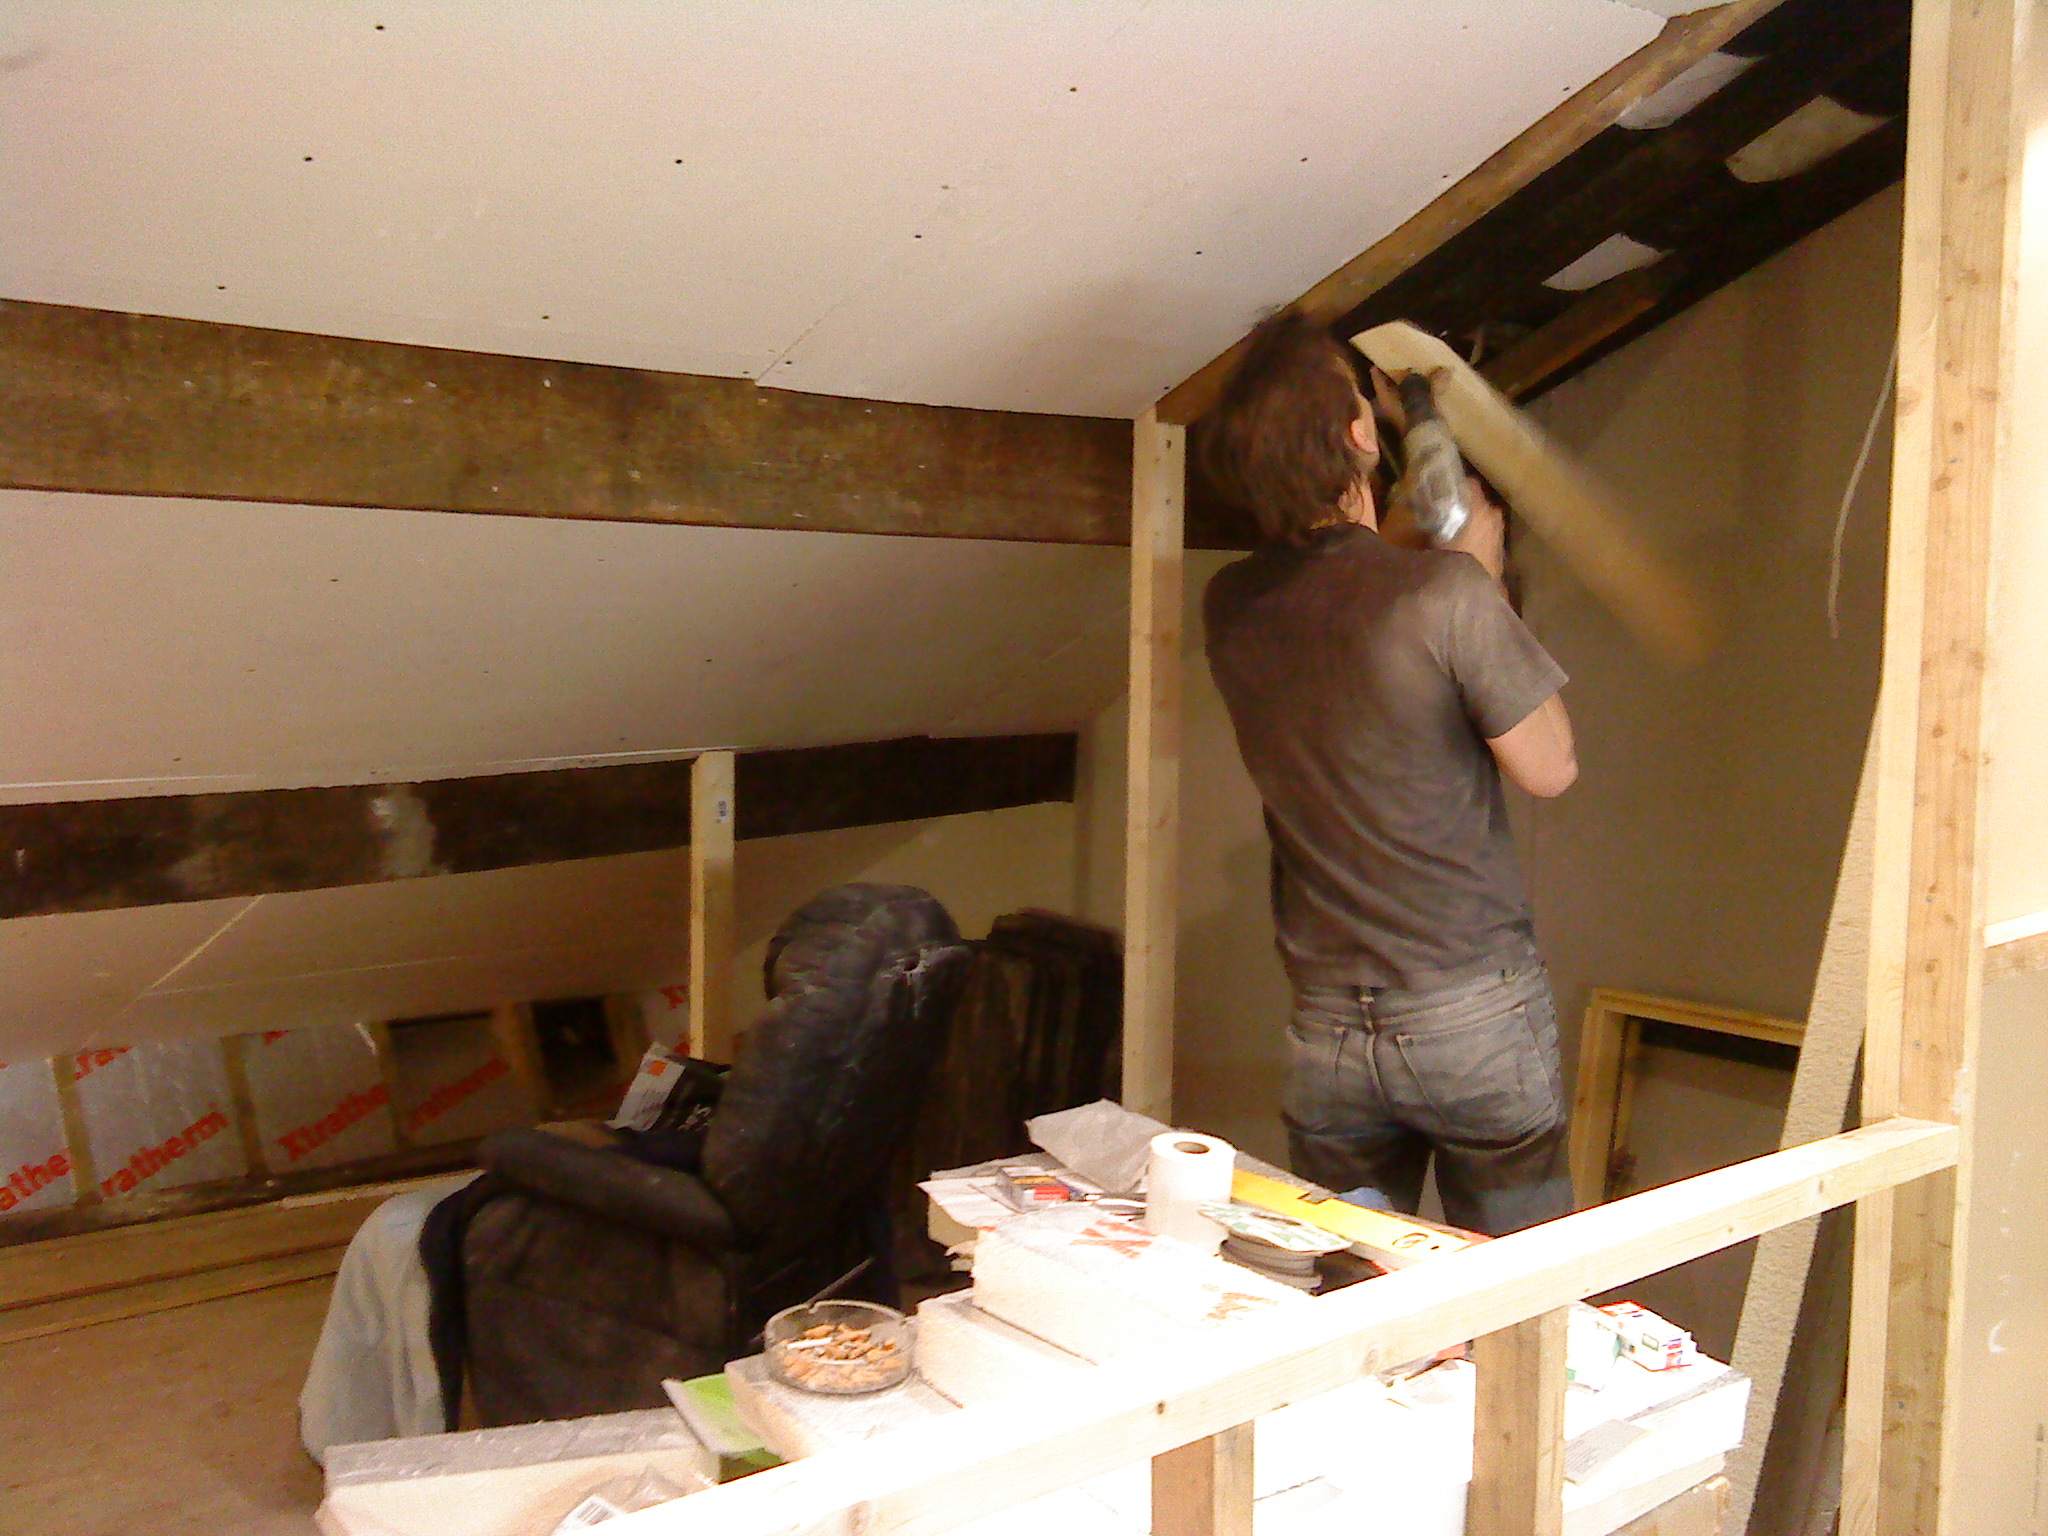
Insulating the roof. Our rafters weren’t deep enough to accommodate
the insulation. I had to ‘thicken’ them by fixing 50mm X 50mm timber on the
underside. I had to leave a 50mm gap under the roof lining then 4” of slab
insulation then use insulated plasterboard.
Plastering. We got a professional to skim over the drywall.